Newsletter

The Easiest Way to Temper Chocolate at Home (Plus Two Foolproof Christmas Treats)


December 04, 2025
Tempering Chocolate at Home: The Easy Guide for Holiday Treats
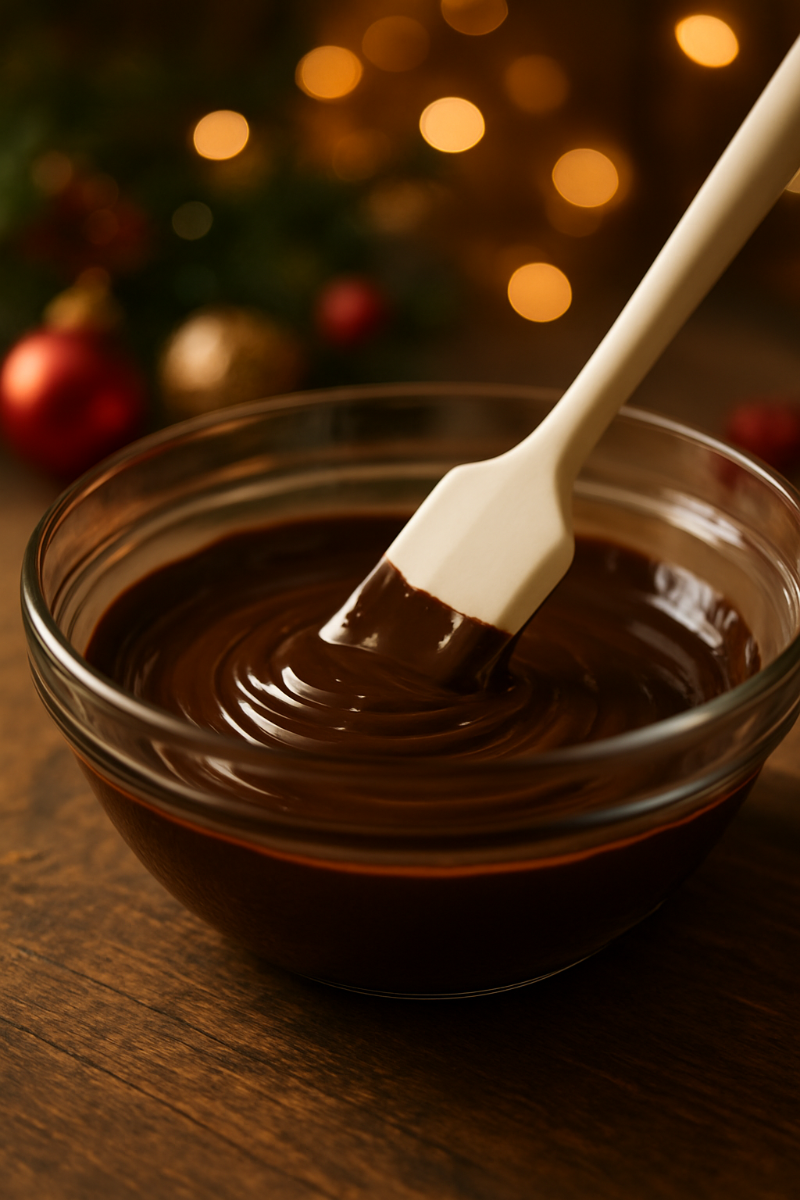
If glossy, snappy, beautifully finished chocolate is your goal this Christmas, tempering is the secret. It’s the simple temperature-control technique that gives chocolate its professional shine and crisp bite — and it’s easier to master than you think.
With just a digital thermometer and one of the methods below, you’ll be ready to whip up gift-worthy treats in no time.
Why Temper Chocolate? (The Short Science)
Chocolate contains cocoa butter, and cocoa butter forms different types of crystals.
Only one — the stable beta crystal — gives chocolate:
-
A glossy shine
-
A firm snap
-
A smooth mouthfeel
-
A clean release from moulds
Tempering melts all crystals, then cools the chocolate so only beta crystals re-form. That’s it — controlled melting and cooling.
If chocolate isn’t tempered, you’ll get:
-
Dull or streaky colour
-
White fat bloom
-
Soft texture that melts instantly in your hand
-
Chocolate that sticks stubbornly in moulds
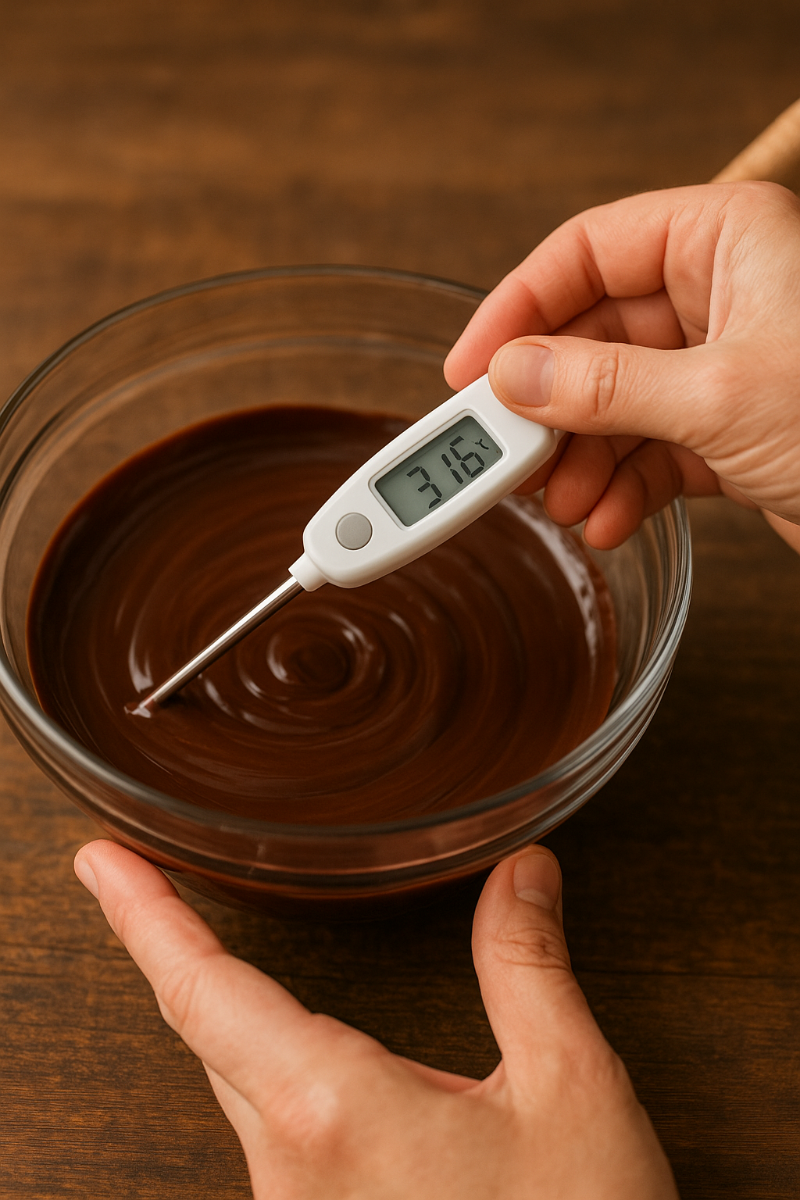
Tempering Temperature Guide
| Chocolate Type | Melt To | Cool To | Reheat To (Working Temp) |
|---|---|---|---|
| Dark | 45–50°C | 27–28°C | 31–32°C |
| Milk | 40–45°C | 26–27°C | 29–30°C |
| White | 40–45°C | 25–26°C | 28–29°C |
A probe thermometer is your best friend here!
The Three Easiest Tempering Methods
1) The Seed Method (Most Reliable)
Perfect for beginners.
-
Melt ⅔ of your chocolate over a double boiler to the melt temperature.
-
Remove from heat, add the remaining ⅓ chopped chocolate.
-
Stir constantly until temperatures drop to the cooling stage.
-
Gently warm 1–2°C to reach working temperature.
You’re ready to dip, mould and decorate.
2) The Microwave Method (Fastest)
Great for 100–300g batches.
-
Microwave chocolate at 50% power in 20–30 sec bursts.
-
Stir well each time — don’t let it scorch.
-
Add a little chopped chocolate to seed and cool it.
Quick, clean, no water worries.
3) Marble/Tabling Method (Traditional)
Stunning but not essential unless making large batches.
(You can keep this short — most home makers will skip it.)
What You'll Need
-
Digital thermometer
-
Heatproof bowl
-
Spatula
-
High-quality Belgian couverture chocolate
-
Clean, dry tools (water = seized chocolate)
Troubleshooting Quick Fixes
-
Soft chocolate that won’t set: Add a little extra seed chocolate and stir.
-
Grainy or thick: Likely overheated — remelt gently and re-temper.
-
White bloom: Caused by temperature swings. Store between 12–18°C.
???? RECIPE CARD 1: Peppermint Bark
PREP TIME: 15 minutes
SET TIME: 30–60 minutes
MAKES: 12–16 pieces
Ingredients
-
300g tempered dark chocolate
-
200g tempered white chocolate
-
1 tsp peppermint extract (optional)
-
80–100g crushed candy canes
Method
-
Spread dark chocolate onto baking paper (4–5 mm thick).
-
Let it begin to set slightly.
-
Pour tempered white chocolate on top.
-
Sprinkle crushed candy canes while wet.
-
Set fully at room temp and break into pieces.
Perfect for gift bags, stockings or teachers’ gifts.
???? RECIPE CARD 2: Chocolate-Dipped Orange Slices & Pretzel Stars
PREP TIME: 20 minutes (plus drying time for oranges)
MAKES: Approx. 24 slices + 40–50 pretzels
Ingredients
-
3 oranges
-
300g sugar + 300ml water
-
250–300g tempered dark or milk chocolate
-
Pretzels
-
Sprinkles or flaky salt
Method
-
Simmer oranges in sugar syrup until translucent; dry fully.
-
Dip half of each slice in tempered chocolate.
-
Dip pretzels, add sprinkles, allow to set.
Two treats, minimal effort, maximum festive impact.